I shot a segment showing me making this “30-Second Chocolate Cake” for The Cooking Channel ‘s show Food(ography) , with the “30 second” bit referring to how long it takes to cook, and possibly eat, but definitely not how long it took to do the shoot. I’ve had a number of requests for the recipe, which I’m including below, and figured I’d do a short little write-up about the shoot itself while I’m at it.
Shooting for TV is a
lot
of work. I’ve done live TV a couple of times (
which has its own quirks
), so shooting this segment was really insightful just in the contrasts from live TV alone. It was a 7 am call, actually started at 8 am, and shot until noon. That’s four hours of on-location time for four
minutes
of final tape.
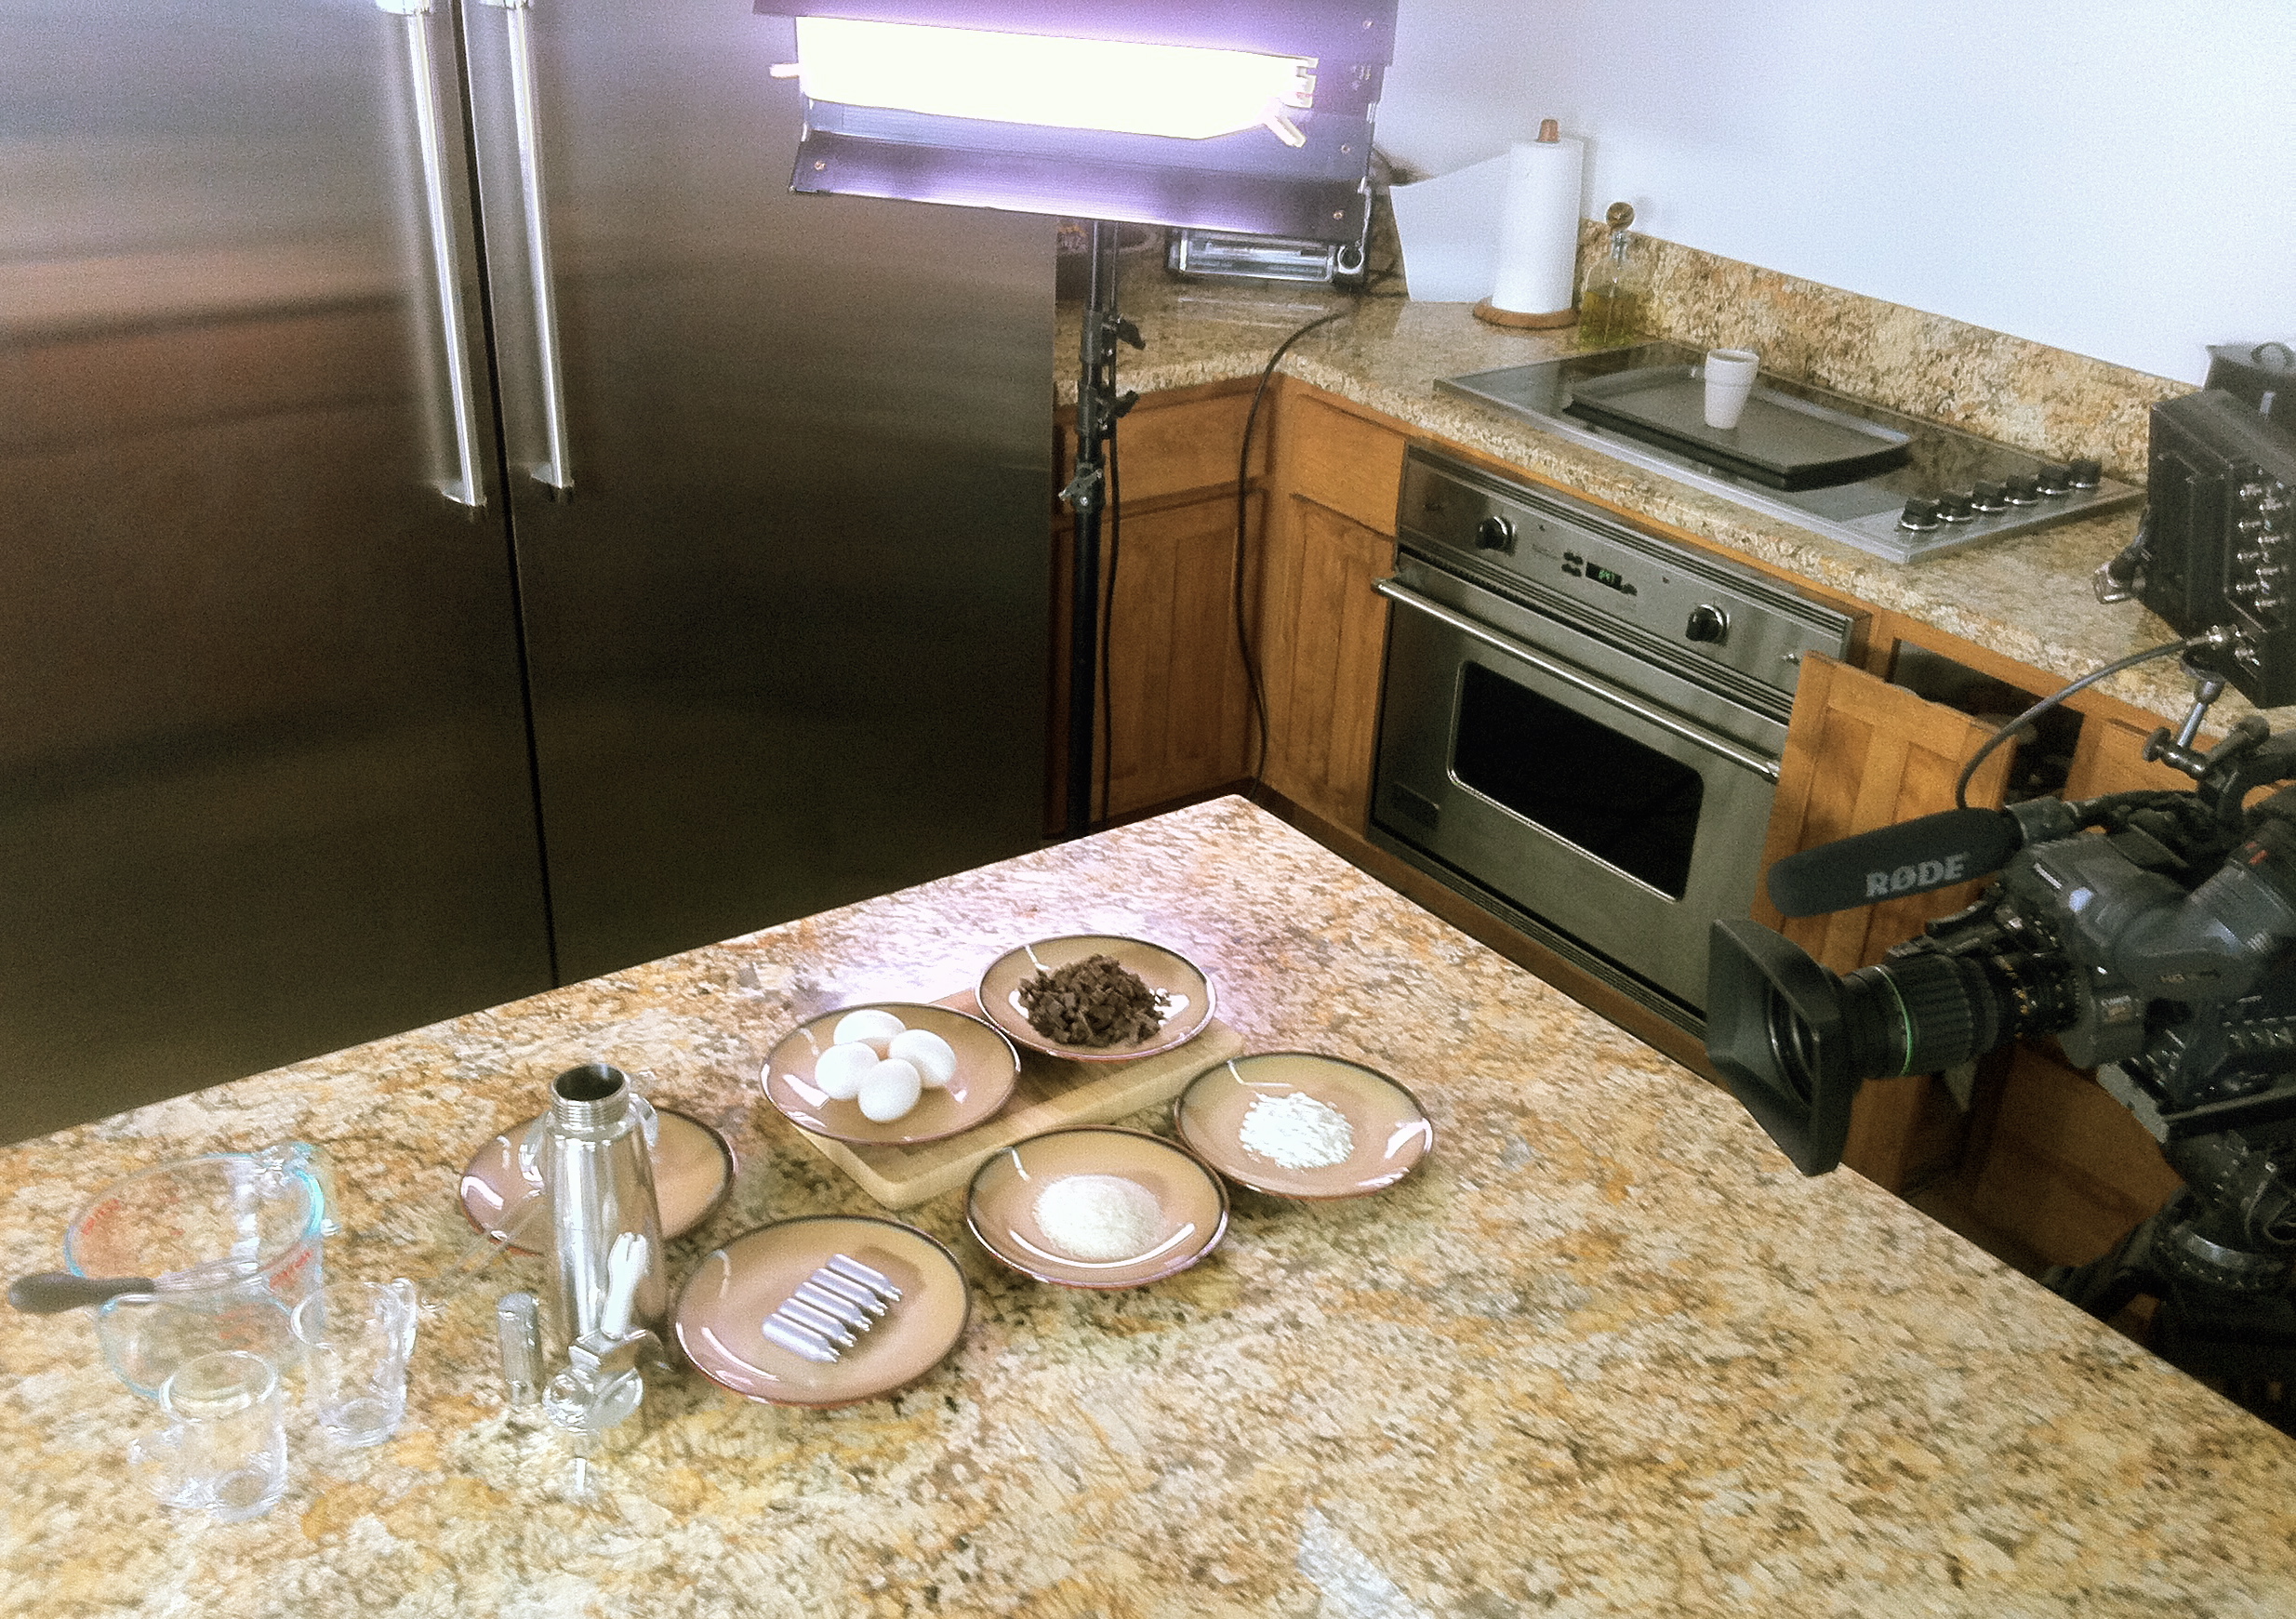
The shoot was a one-camera setup, meaning that only one camera was used for filming. This has the advantage that you can light for each angle appropriately and not worry about trying to get lighting glare out of a second angle simultaneously that you’d encounter in a two camera setup.
The disadvantage? You have to do everything twice to get coverage of the action from two angles. Make it three times: you want a master shoot (the wide angle shoot showing the whole scene), and then close-up shoots from, say, two angles. And these multiple angles are really important in editing. With a single angle, if you edit out a portion of the action, there’s a jump, a distinct cut where it’s really obvious to a viewer that “something was cut.” People don’t just suddenly move 4 inches to the left! But with two different angles? You can jump to a different angle at a different time and viewers see it as just changing angles.
Then there’s consistency issues. Shooting in a two or three camera setup, one take, means that all the various footage will line up: four eggs on the counter? Then you’ll have four eggs in A, B, and C rolls. But if you’re using a single-camera setup and re-doing the entire thing three times, and one time you accidentally forget to replace an egg that you used during the sequence… whoops.
Another difference between live (or live-to-tape) and edited pieces like this one is, well, editing. (Live-to-tape is like live in that it’s one-take, although it is sometimes lightly-edited. Think The Daily Show , where they might snip bits out to tighten it up, but the footage is never re-arranged or shown out-of-order.) Editing is the single most important thing on any non-live piece, period. It’s magic. I don’t understand very much about it. What I do understand is that, for this type of segment, one does various parts of a segment more than once so that the editor can pick and choose which takes they think look best together. (I spent twenty minutes putting a plate with the final cake down, slowly rotating it, and pulling my hand out of frame on a tight close-up shot. It’s possible I just wasn’t getting it, but I think they really wanted to make sure they had a good “beauty” shot of the cake.)
It’s a strange process, and I have to say I honestly don’t look at TV the same way after having done it. I now “see” so much more of the mechanical aspects of how these sorts of segments are put together. And editing still amazes me.
P.S. Sadly, I didn’t get to meet Mo Rocca . This was filmed with a hired crew out of LA who shipped the tapes off to CBS for editing.

The Recipe for 30-Second Chocolate Cake
A note on cream whippers: Cream whippers are essentially DIY canned whipped cream, but allow you to put things other than whipping cream into the can. Also called iSi Whippers (iSi being the manufacture of the most popular cream whipper), they come in TWO varieties: a cheaper variety that has a very tight, restrictive nozzle that will pretty much only work with cream, and a more expensive version that allows for fine particulate to pass through the nozzle. YOU NEED THE MORE EXPENSIVE TYPE, unfortunately. Trying to do this with the cheaper version won’t work; the nozzle will clog. Something like this iSi Creative Whip should be fine; just make sure it says something about “okay for espumas, foams, creams, soups, etc.”

- 4 oz (113g) chocolate (bittersweet preferably)Add and thoroughly whisk together:
- 4 large (240g) eggs
- 6 tablespoons (80g) sugar
-
3 tablespoons (25g) flourPass the mixture through a strainer to remove any lumps and to filter out the chalazaes (the little white strands that attach the yolk to the egg white.) Transfer to whipper and pressurize.
Spray mixture into a greased glass, ramekin, or whatever microwave-safe container you will cook it in, leaving at least the top third of the container empty. The first time you do this, I recommend using a clear glass so that you can see the cake rise and fall as it cooks.
Microwave for 30 seconds or until the foam has set. Flip onto a plate and dust with powdered sugar.
For better-tasting results, try adding Nutella or Fluff: spray a thin layer of cake batter, drop a spoonful of filling into the center, and then spray more cake batter on top of and around the filling.